Connecting to an Infotainment System
In order to view your SDL app, you must connect your device to a head unit that supports SDL Core. If you do not have access to a head unit, we recommend using the Manticore web-based emulator for testing how your SDL app reacts to real-world vehicle events, on-screen interactions and voice recognition.
Connecting to an Emulator
To connect to an emulator such as Manticore or a local Ubuntu SDL Core-based emulator you must implement a TCP connection when configuring your SDL app.
Getting the IP Address and Port
Generic SDL Core
To connect to a virtual machine running the Ubuntu SDL Core-based emulator, you will use the IP address of the Ubuntu OS and 12345 for the port. You may have to enable port forwarding on your virtual machine if you want to connect using a real device instead of a simulated device.
Manticore
Once you launch an instance of Manticore, you will be given an IP address and port number that you can use to configure your TCP connection.
Setting the IP Address and Port
const lifecycleConfiguration = new SDL.manager.LifecycleConfig().setTransportConfig(new SDL.transport.TcpClientConfig(<IP Address>, <PORT>));
Running the SDL App
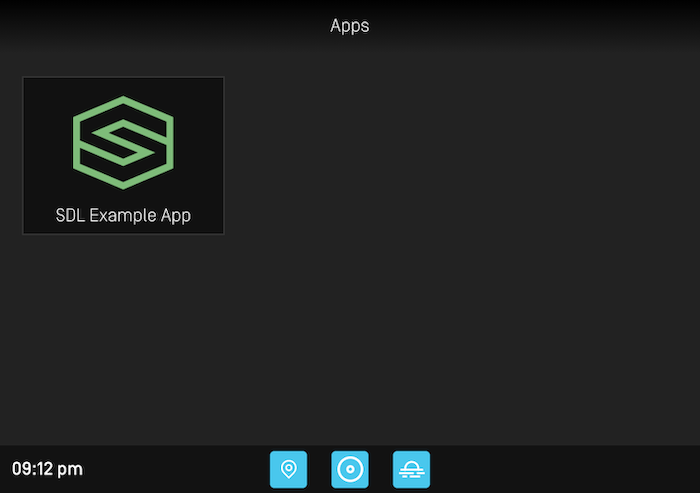
Build and run the project in Node.js, targeting the device or simulator that you want to test your app with. Your app should compile and launch on your device of choosing. If your connection configuration is setup correctly, you should see your SDL app icon appear on the HMI screen:

To open your app, click on your app's icon in the HMI.

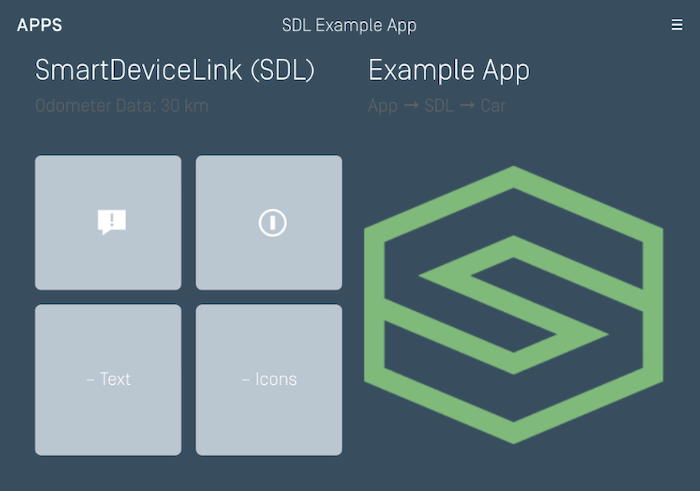
This is the main screen of your SDL app. If you get to this point, your SDL app is working.
Troubleshooting
If you are having issues with connecting to an emulator or head unit, please see our troubleshooting tips in the Example Apps section of the guide.
Your SDL cloud/webengine app will only work with head units that support RPC Spec v5.1+.
Configuring the Connection
Generic SDL Core
To connect to your app to a local Ubuntu SDL Core-based emulator you need to know the IP address of the machine that is running the cloud app. If needed, running ifconfig in the terminal will give you the current network configuration information.
Policy Table Configuration
Once you know the IP address, you need to set the websocket endpoint and app nicknames for your SDL app in the policy table under the "app_policies" section. This will let Core know where your instance of the SDL app is running. The websocket endpoint needs to include both the IP address and port: ws://<ip address>:<port>/.
 "<Your SDL App ID>": {
     "keep_context": false,
     "steal_focus": false,
     "priority": "NONE",
     "default_hmi": "NONE",
     "groups": ["Base-4"],
     "RequestType": [],
     "RequestSubType": [],
     "hybrid_app_preference": "CLOUD",
     "endpoint": "ws://<ip address>:<port>",
     "enabled": true,
     "auth_token": "",
     "cloud_transport_type": "WS",
     "nicknames": ["<app name>"]
 }
Note
The <app name> value in "nicknames" must match the app name value used in Integration Basics when implementing the SDL manager.
For more information about policy tables please visit the Policy Table guide.
Manticore
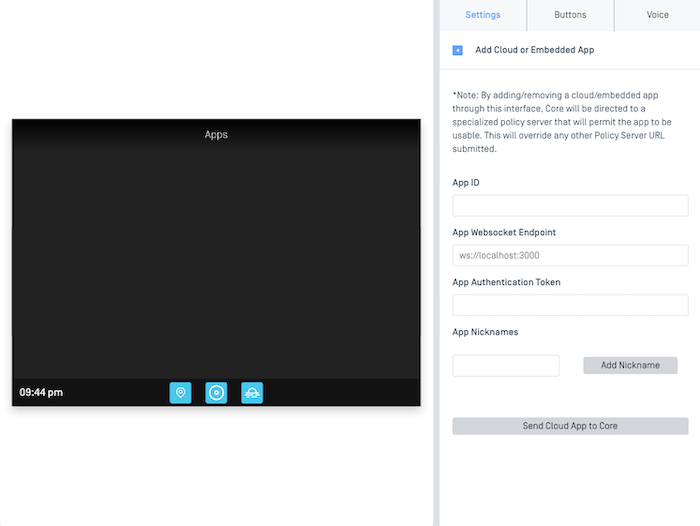
If you are using Manticore, the app connection information can be easily added in the settings tab of the Manticore web page. Please note that Manticore needs to access your machine's IP address in order to be able to start a websocket connection with your app. If you are hosting the app on your local machine, you may need to do extra setup to make your machine publicly accessible.

Running the SDL App
Once you have a configured instance of Core running, you should see your SDL app name appear in a box on HMI. However, nothing will happen when you tap on the box until you build and run your SDL app.

Once your SDL app is running, either locally in an IDE or on a server, you will be able to launch the SDL app by clicking on the app icon in the HMI.

This is the main screen of your SDL app. If you get to this point, your SDL app is working.
View on GitHub.com