Template Custom Buttons
You can easily create and update custom buttons (called Soft Buttons in SDL) using the ScreenManager. To update the UI, simply give the manager your new data and (optionally) sandwich the update between the manager's beginTransaction() and commit() methods.
Soft Button Fields
| ScreenManager Parameter Name | Description |
|---|---|
| softButtonObjects | An array of buttons. Each template supports a different number of soft buttons |
Creating Soft Buttons
To create a soft button using the ScreenManager, you only need to create a custom name for the button and provide the text for the button's label and/or an image for the button's icon. If your button cycles between different states (e.g. a button used to set the repeat state of a song playlist can have three states: repeat-off, repeat-one, and repeat-all), you can create all the states on initialization.
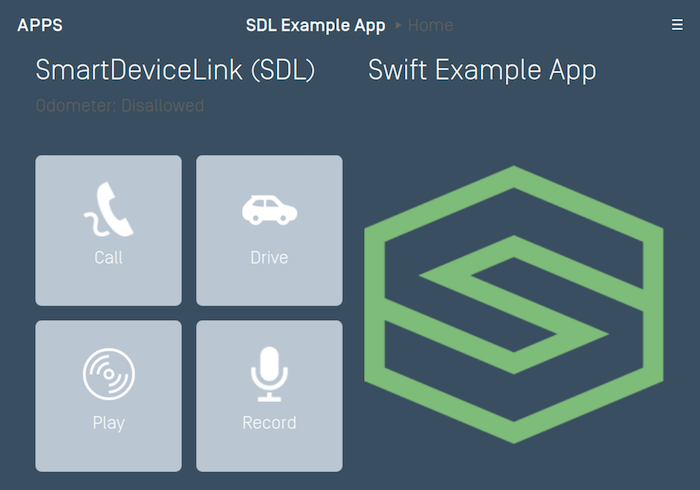
There are three different ways to create a soft button: with only text, with only an image, or with both text and an image. If creating a button with an image, we recommend that you template the image so its color works well with both the day and night modes of the head unit. For more information on templating images please see the Template Images guide.
Text Only Soft Buttons
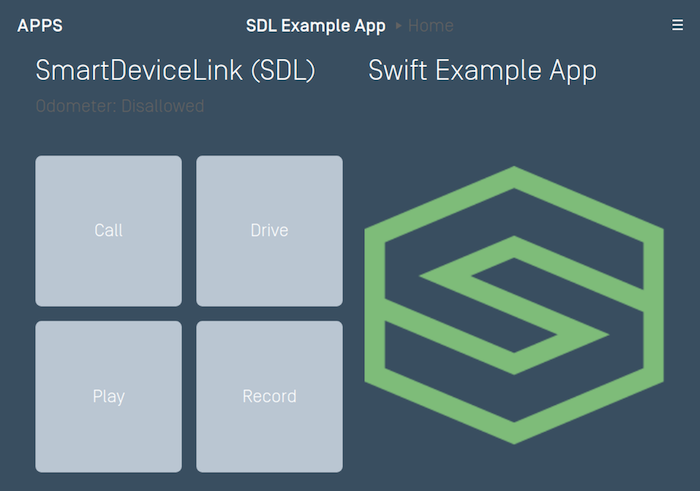
const textState = new new SDL.manager.screen.utils.SoftButtonState('State Name', 'Button Label Text');

const softButtonObject = new SDL.manager.screen.utils.SoftButtonObject('softButtonObject', [textState], textState.getName(), function (softButtonObject, rpc) {
    if (rpc instanceof SDL.rpc.messages.OnButtonPress) {
        console.log('SoftButton pressed!');
    }
});

sdlManager.getScreenManager().beginTransaction();
sdlManager.getScreenManager().setSoftButtonObjects([softButtonObject]);
// Commit the updates and catch any errors
const success = await sdlManager.getScreenManager().commit().catch(function (error) {
    // Handle Error
});
console.log('ScreenManager update complete:', success);
if (success === true) {
    // Update complete
} else {
    // Something went wrong
}
Image Only Soft Buttons
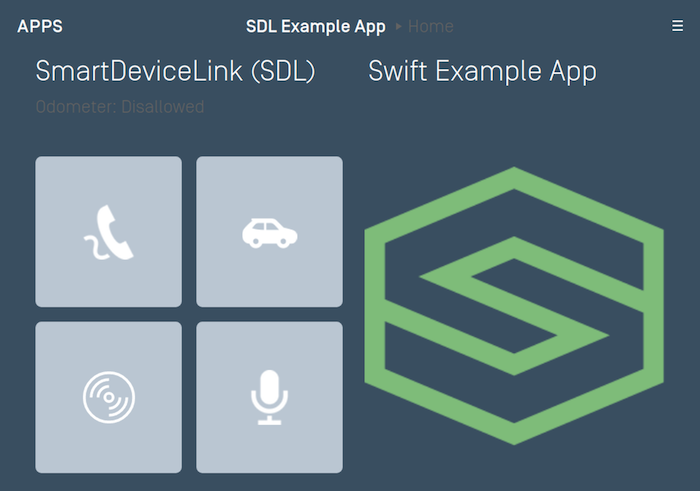
You can use the SystemCapabilityManager to check if the HMI supports soft buttons with images. If you send image-only buttons to a HMI that does not support images, then the library will not send the buttons as they will be rejected by the head unit. If all your soft buttons have text in addition to images, the library will send the text-only buttons if the head unit does not support images.
const softButtonCapabilitiesList = sdlManager.getSystemCapabilityManager().getDefaultMainWindowCapability().getSoftButtonCapabilities();
const imageSupported = (softButtonCapabilitiesList.length !== 0) ? softButtonCapabilitiesList[0].getImageSupported() : false;
Once you know that the HMI supports images in soft buttons you can create and send the image-only soft buttons.
const imageState = new SDL.manager.screen.utils.SoftButtonState('State Name', null, sdlArtwork);
const softButtonObject = new SDL.manager.screen.utils.SoftButtonObject('softButtonObject', [imageState], imageState.getName(), function (softButtonObject, rpc) {
    if (rpc instanceof SDL.rpc.messages.OnButtonPress) {
        console.log('SoftButton pressed');
    }
});

sdlManager.getScreenManager().beginTransaction();
sdlManager.getScreenManager().setSoftButtonObjects([softButtonObject]);
// Commit the updates and catch any errors
const success = await sdlManager.getScreenManager().commit().catch(function (error) {
    // Handle Error
});
console.log('ScreenManager update complete:', success);
if (success === true) {
    // Update complete
} else {
    // Something went wrong
}
Image and Text Soft Buttons
const textAndImageState = new SDL.manager.screen.utils.SoftButtonState('State Name', 'Button Label Text', artwork);
const softButtonObject = new SDL.manager.screen.utils.SoftButtonObject('softButtonObject', [textAndImageState], textAndImageState.getName(), function (softButtonObject, rpc) {
    if (rpc instanceof SDL.rpc.messages.OnButtonPress) {
        console.log('SoftButton pressed');
    }
});

sdlManager.getScreenManager().beginTransaction();
sdlManager.getScreenManager().setSoftButtonObjects([softButtonObject])
// Commit the updates and catch any errors
const success = await sdlManager.getScreenManager().commit().catch(function (error) {
    // Handle Error
});
console.log('ScreenManager update complete:', success);
if (success === true) {
    // Update complete
} else {
    // Something went wrong
}
Highlighting a Soft Button
When a button is highlighted its background color will change to indicate that it has been selected.
Highlight On
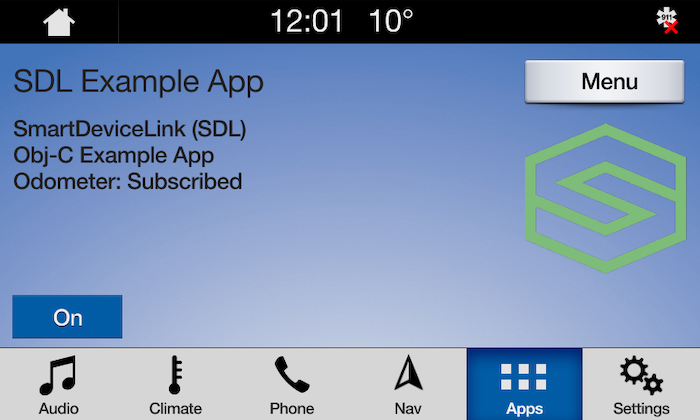
Highlight Off
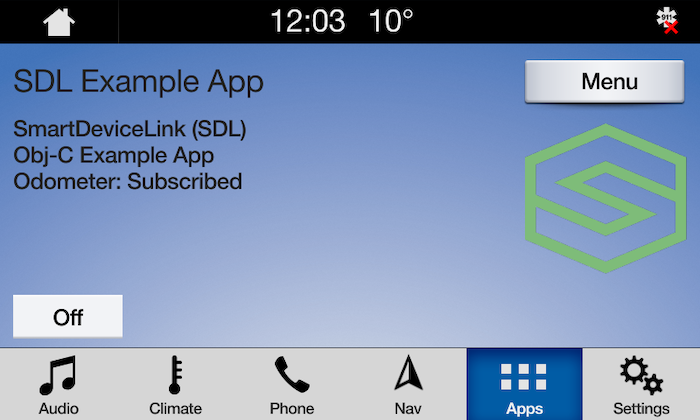
const softButtonState1 = new SDL.manager.screen.utils.SoftButtonState('Soft Button State Name', 'On', sdlArtwork);
softButtonState1.setHighlighted(true);
const softButtonState2 = new SDL.manager.screen.utils.SoftButtonState('Soft Button State Name 2', 'Off', sdlArtwork);
softButtonState2.setHighlighted(false);
const softButtonObject = new SDL.manager.screen.utils.SoftButtonObject('softButtonObject', [softButtonState1, softButtonState2], softButtonState1.getName(), function (softButtonObj, rpc) {
    if (rpc instanceof SDL.rpc.messages.onButtonPress) {
        softButtonObject.transitionToNextState();
    }
});
Updating Soft Button States
When the soft button state needs to be updated, simply tell the SoftButtonObject to transition to the next state. If your button states do not cycle in a predictable order, you can also tell the soft button which state to transition to by passing the stateName of the new soft button state.
const state1 = new SDL.manager.screen.utils.SoftButtonState('State1 Name', 'Button1 Label Text', sdlArtwork);
const state2 = new SDL.manager.screen.utils.SoftButtonState('State2 Name', 'Button2 Label Text', sdlArtwork);

const softButtonObject = new SDL.manager.screen.utils.SoftButtonObject('softButtonObject', [state1, state2], state1.getName(), function (softButtonObj, rpc) {
    if (rpc instanceof SDL.rpc.messages.OnButtonPress) {
        console.log('Soft Button pressed.');
    }
});

sdlManager.getScreenManager().beginTransaction();
sdlManager.getScreenManager().setSoftButtonObjects([]);
// Commit the updates and catch any errors
const success = await sdlManager.getScreenManager().commit().catch(function (error) {
    // Handle Error
});
console.log('ScreenManager update complete:', success);
if (success === true) {
    // Update complete, transition to a new state
    const retrievedSoftButtonObject = sdlManager.getScreenManager().getSoftButtonObjectByName('softButtonObject');
    retrievedSoftButtonObject.transitionToNextState();
} else {
    // Something went wrong
}
Deleting Soft Buttons
To delete soft buttons, simply pass the screen manager a new array of soft buttons. To delete all soft buttons, simply pass the screen manager an empty array.
sdlManager.getScreenManager().setSoftButtonObjects([]);
Using RPCs
You can also send soft buttons manually using the Show RPC. Note that if you do so, you must not mix the ScreenManager soft buttons and manually sending the Show RPC. Additionally, the ScreenManager takes soft button ids 0 - 10000. Ensure that if you use custom RPCs, that the soft button ids you use are outside of this range.